Designing and selling stickers and small printed paper goods is one of the most accessible creative side hustles for teenagers. With inexpensive supplies from Amazon and a small amount of practice, you can produce attractive physical products or digital downloads that customers buy repeatedly. This guide covers planning a product line, choosing the right supplies (all under a modest budget), preparing print files, cutting and finishing stickers, packaging and shipping, pricing strategies, marketing channels, and legal/safety considerations for teen sellers.
Along the way you’ll find recommended Amazon items (affiliate links included) that are practical for beginners: printable sticker paper, a reliable paper trimmer, printable vinyl, small poly mailers, and a budget label printer. I also include a best-effort direct product link where useful so you can click through and buy a widely used option quickly.
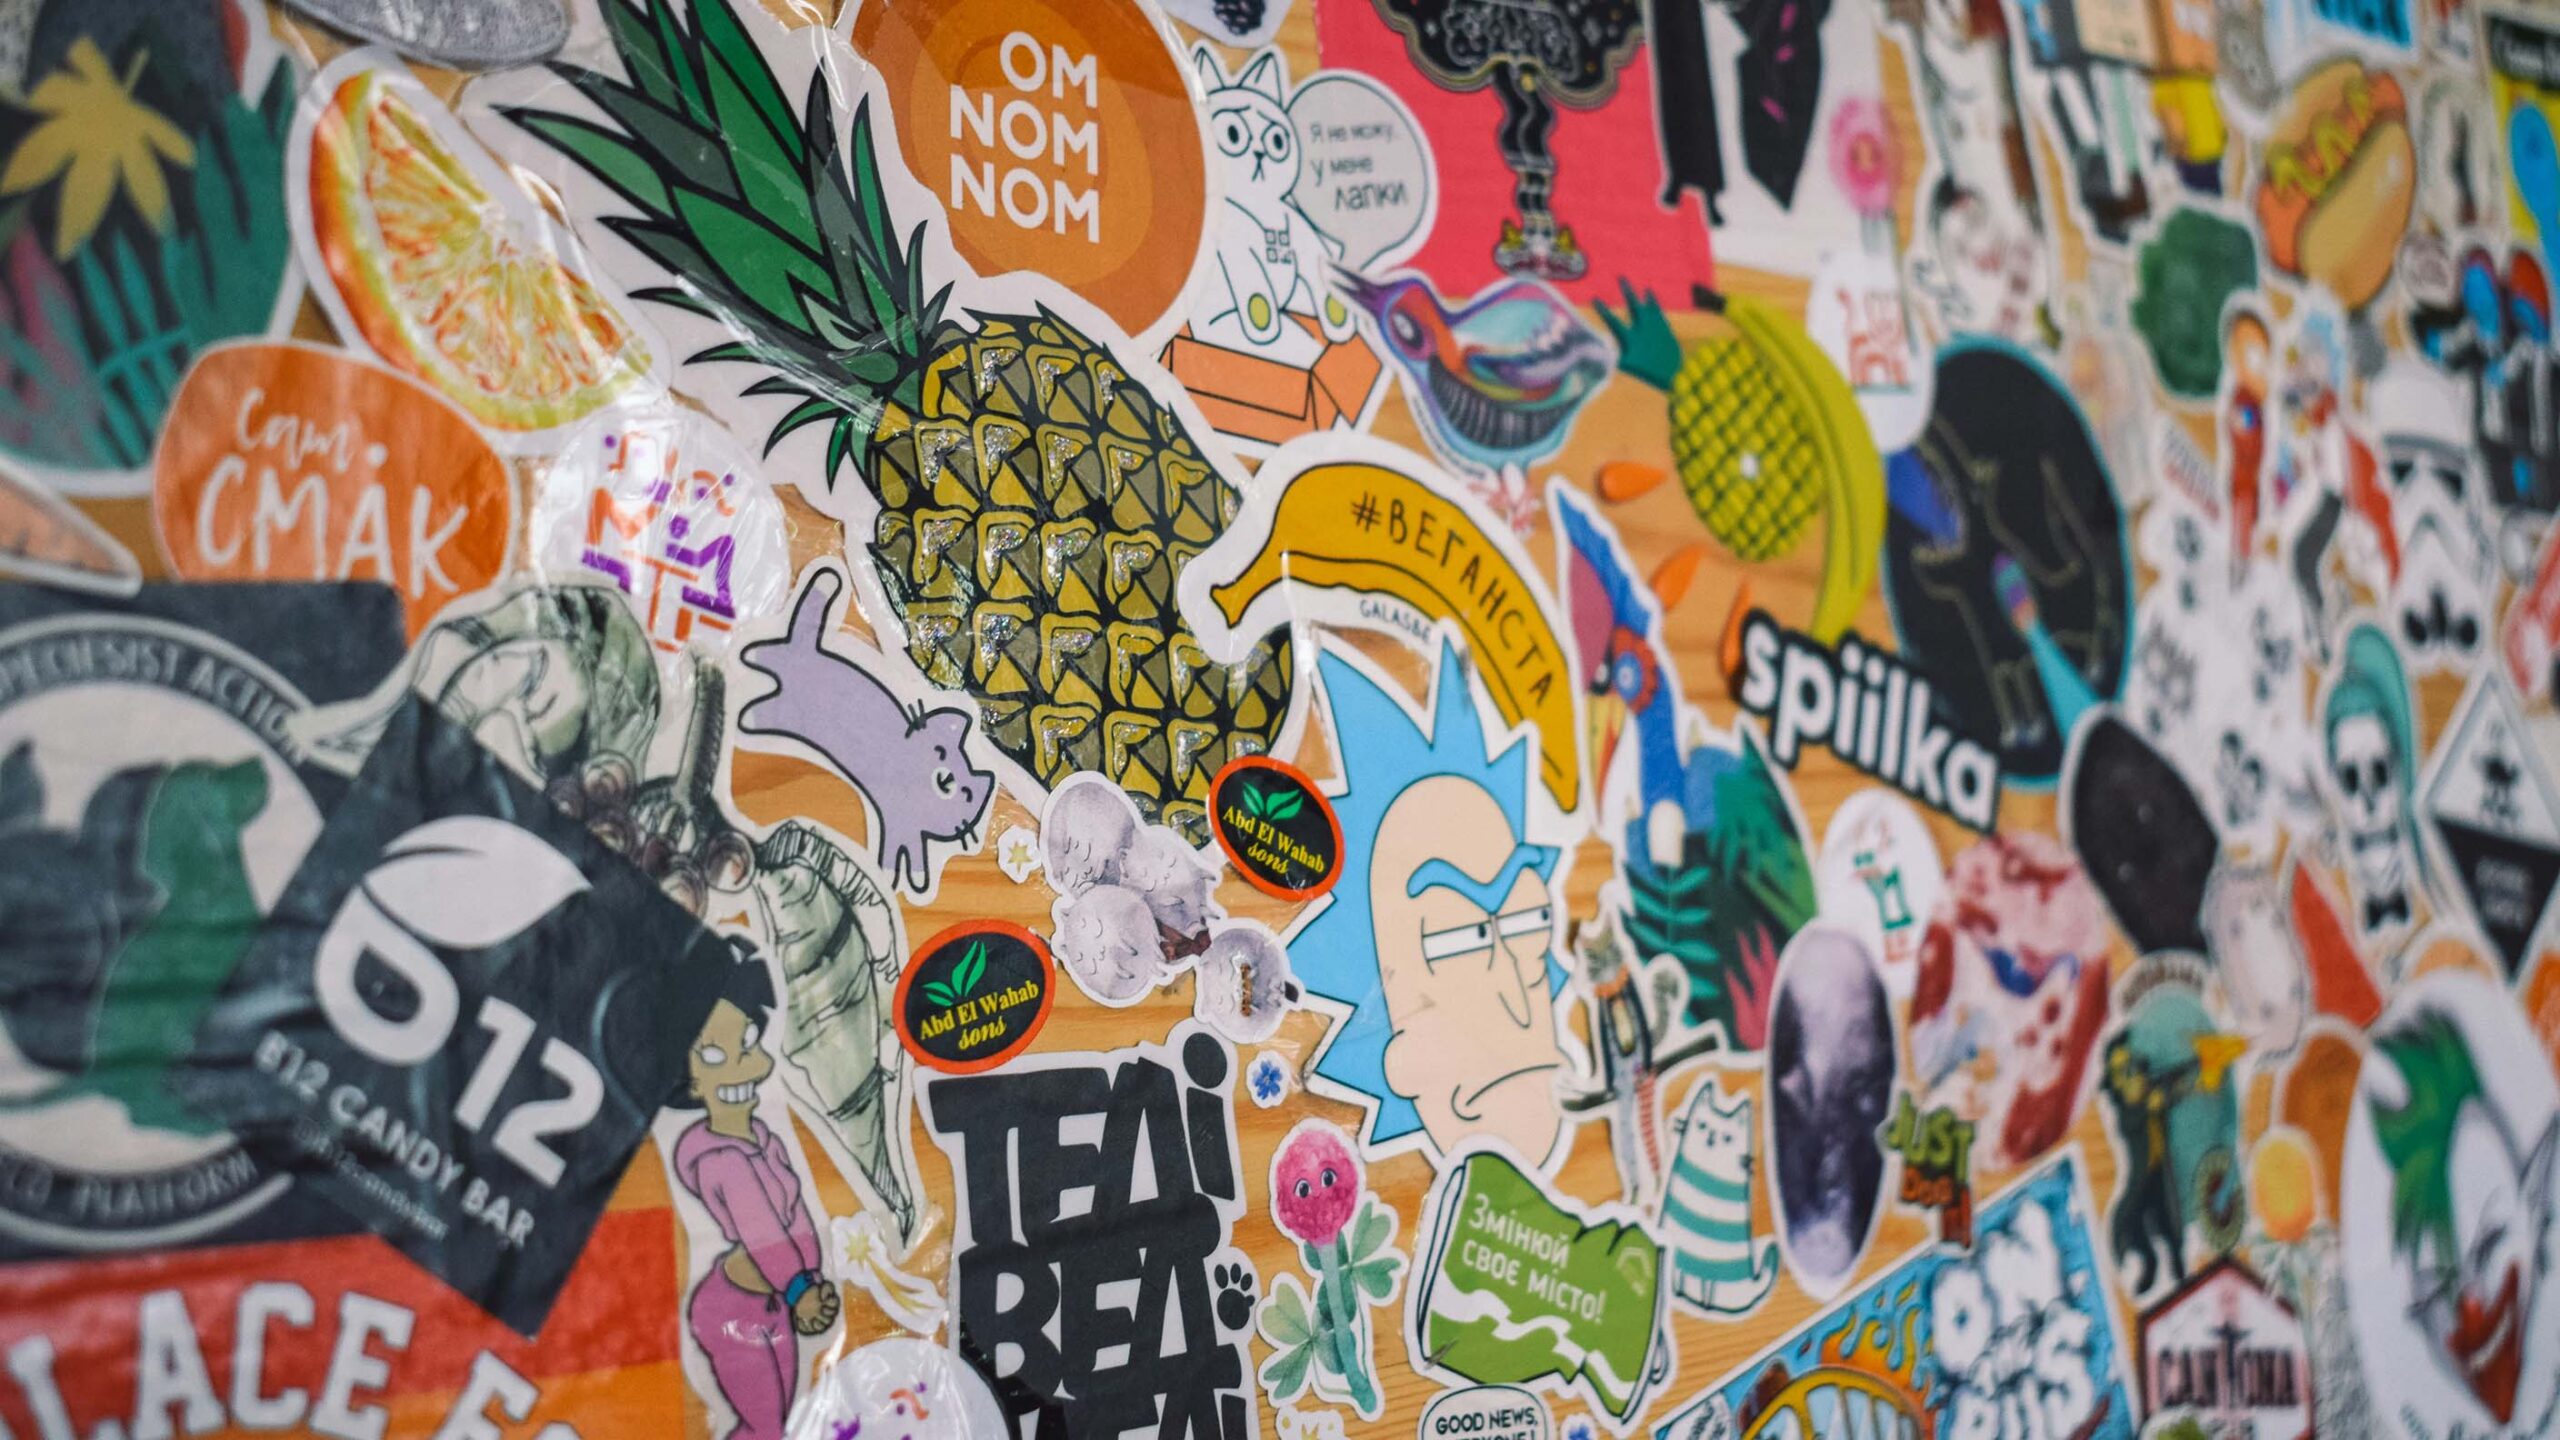
Why stickers and small paper goods are great side hustles for teenagers
Stickers, planner sheets, greeting cards, and small prints are ideal for teen creators because:
- Low startup cost: printable paper, ink (or a local print shop), and basic cutting tools are inexpensive.
- High perceived value: well-designed stickers can sell at $2–$6 for small packs while material cost is low.
- Fast turnaround: small orders can be produced in batches on evenings or weekends.
- Multiple distribution channels: sell in person, on Etsy, Depop, Instagram, or as digital downloads.
Because packaging and presentation matter a great deal for sticker buyers, a small initial investment in quality paper and tidy mailing supplies transforms perceived value and allows you to charge more than raw material cost.
Section 1 — Plan your product line and niche
Before you buy supplies, decide what you want to make and who you’re selling to. Narrowing your niche makes marketing easier and helps you develop a distinct brand.
Pick a format
Common starter formats that sell well:
- Die-cut vinyl stickers (single design or sticker sheets)
- Printable planner stickers (functional shapes, icons, headers)
- Sticker packs with a theme (e.g., study motivation, pets, gaming)
- Greeting cards and small art prints (5×7 or A5)
- Custom name labels or laptop decals
Choose a niche
A narrow niche helps you find customers: school spirit stickers, fandom-inspired (fan art must respect IP), local landmarks, or aesthetic sets (retro, kawaii, minimal). Research existing shops and trending tags on Etsy and Instagram to see what’s selling, then find a unique angle or consistent style.
Section 2 — Supplies: what to buy and why (under $100 startup)
Here’s a compact starter kit that keeps costs low while enabling professional results. I include at least one direct, widely used product link to help you buy quickly.
Essential purchases
- Printable sticker paper — choose the right type for your printer (inkjet vs laser) and finish (white matte, glossy, or clear vinyl). A best-effort widely used option is printable vinyl or popular Avery-branded papers; search results let you compare varieties. Example category link: printable sticker paper (inkjet/laser).
- Paper cutter / trimmer — a small guillotine or rotary trimmer yields straight cuts and consistent borders. This is one of the most useful physical tools for clean packaging.
- Cutter for die-cutting or scissors — if you want die-cut shapes you’ll need a craft cutting tool or a small manual cutter; for simple rectangular stickers, a trimmer suffices.
- Clear mailing bags / small poly mailers — keep stickers protected and presentable during shipping.
- Label printer or thermal labels (optional) — helpful for neat address labels and branding; a budget thermal label printer pays for itself if you ship many orders.
Starter pack example (estimates)
- Printable sticker paper: $8–$18 per pack
- Paper trimmer: $15–$30
- Scissors or craft knife: $5–$15
- Poly mailers (pack): $8–$20
- Label sheets or small thermal label printer (optional): $15–$50
Tip: if you’re unsure about buying sticker paper upfront, start with designs as digital downloads (no physical inventory), sell a few digital files, and use the revenue to fund supplies.
Section 3 — Design process: files, resolution, and templates
Good manufacturing starts with good files. Prepare your art at high resolution and in a format that prints cleanly.
File basics
- Work at 300 DPI (dots per inch) for crisp print output.
- Use RGB for most home inkjet printers, but check your print shop’s requirements (some prefer CMYK).
- Save master files as PNG (transparent background), TIFF, or high-quality JPG and provide print-ready PDFs for consistent size and bleed.
- Include a 1–2 mm bleed for designs that run to the edge; otherwise center them in a white margin.
Tools for designing
Free and low-cost design tools are great for teens: Canva, Gravit, Affinity Designer (one-time cost), Procreate (iPad), and free desktop tools like GIMP or Inkscape for vector shapes. Vector-based work (SVG/PDF) scales cleanly for different sizes.
Section 4 — Printing options: at home vs. print shop
You have two main printing routes:
1) Print at home
Use an inkjet printer for glossy/photo sticker paper or a laser printer for matte sheets (match paper type to printer). Home printing is cost-effective for small batches and makes turnaround immediate. Remember to test color profiles and try a sample sheet before committing to a big run.
2) Use a print shop / fulfillment
Local print shops or online print services can provide higher-quality vinyl stickers, waterproof options, and die-cut finishing. Fulfillment services like Printful or sticker-specific vendors handle printing/fulfillment for you, removing production time but reducing margin. For teens, local or small-batch print shops often provide quick sample runs without a large minimum.
Section 5 — Cutting, finishing, and quality control
After printing, finishing matters. For rectangular stickers, a paper trimmer yields uniform edges. For die-cut shapes, consider a manual craft punch for simple shapes or a small hobby cutter (like Cricut or Silhouette) if you plan to scale—these are larger investments but speed production.
Hand-cutting tips
- Use a straight edge and a fresh blade for sharp cuts.
- Work on a clean cutting mat to protect blades and surfaces.
- Batch similar sizes together to set up trimmer measurements once and replicate across sheets.
Section 6 — Packaging, branding, and perceived value
Nice packaging turns a $1 material cost into a $6 sale. Invest in small touches: branded stickers, clear cello bags with a backing card, business cards, and a small thank-you note. Consider custom labels with your shop name and social handles.
Suggested pack options
- Sticker pack of 3–6 small stickers — cello bag + backing card + label
- Sticker sheet — folded retail card + sealed sleeve
- Greeting card — kraft envelope + clear sleeve
Section 7 — Pricing strategy and profit math
Set prices so you cover material, labor, shipping, and a healthy margin. Example formula:
Unit price = (Material cost per unit) + (Packaging cost) + (Labor per unit) + Shipping contribution + Profit margin
Example: If 10 stickers cost $2 total in material and packaging, and you value labor at $10/hour with 6 minutes per order (labor ≈ $1), plus $1 shipping contribution and $2 profit, unit price ≈ $6.
Section 8 — Where to sell and how to market
Multiple channels work for teen sticker sellers. Pick a few and do them well.
Online marketplaces
- Etsy: great for handmade and printable goods. Fees apply but it’s a built-in audience.
- Depop: works well for trendy and fandom items.
- eBay, Amazon Handmade: options as you scale.
Social & local
- Instagram & TikTok: show process videos, pack-and-ship clips, and unboxings.
- School & local markets: weekend markets, craft fairs, and school events (with permission) are great for immediate feedback and sales.
- Neighborhood groups: Nextdoor and local Facebook groups for instant local customers.
Section 9 — Order management, shipping, and customer service
Keep simple systems: a spreadsheet for orders (name, address, product, date, status). Print labels neatly (thermal label printer optional) and include tracking for paid shipping. Communicate delivery timelines: “Ships within 2 business days” is better than overpromising.
Shipping tips
- Use small rigid mailers for sticker packs to prevent bending.
- Offer local pickup to avoid shipping costs (coordinate with a parent).
- Use USPS First Class for small, lightweight packages—track and mark “do not bend” on packs.
Section 10 — Legal, taxes, and safety for teen sellers
Teens should involve a parent for payments and platform accounts (many marketplaces require account holders 18+). Keep records of income and expenses; teachable moment: small business accounting. Check local laws for sales tax collection—some platforms handle it, others don’t. Avoid selling designs that infringe on copyrights or trademarks (fan art can be risky for commercial sale).
Section 11 — Growth ideas and scaling with minimal risk
Scale by improving efficiency and diversifying offerings:
- Offer custom sticker commissions at a premium.
- Bundle with other creators (e.g., enamel pins or hand-made keychains) for event stalls.
- Outsource bulk print runs to a vendor for vinyl and waterproof stickers and focus on design and marketing.